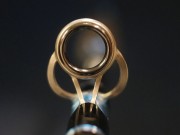
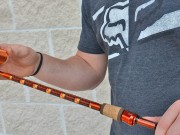
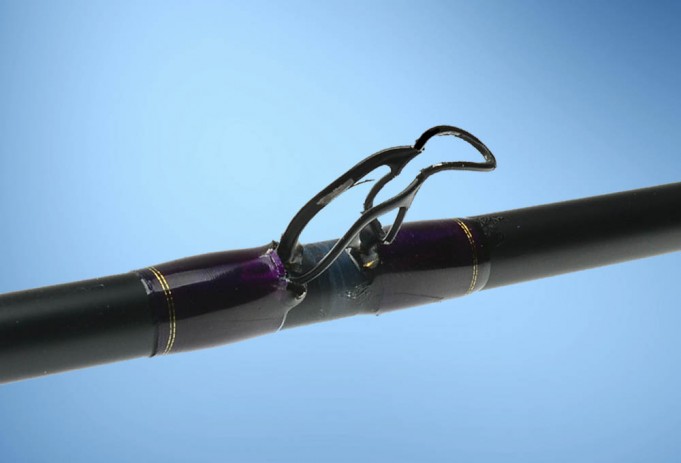
Commonly referred to as “eyes,” guides are the what guides the line down the fishing rod and out the tip-top.
Now that we have the correct lingo out of the way, we can get to the good stuff. What if one of our guides breaks on our rod? Commonly, a ceramic insert gets bashed against the side of the boat or truck, or we step on the rod laying on the deck of the boat causing it to turn into a mangled mess. Is this the end of the rods life? Do we have to pay someone else to spend an excessive amount of time repairing our favorite rod? With some basic knowledge and tools, the answer to both of these questions is “no.”
Assuming we already know how to choose the right guide, let’s get started on replacing the new one. Our first order of business will be getting the old guide off.
Guide Removal & Prep
Using a fresh new razor blade, cut straight down the thread wraps starting at the base of the guide cutting away from the guide ring. Cutting on top of the guide foot ensures you do not cut into the rod blank. Once the guide feet are nearly free, you can use a pair of pliers to gently tug on the guide to remove it. You can use your razor blade to carefully cut away the rest of the guide wrap. Be careful during this step as we want to avoid cutting into the rod itself. We can now attach the guide to the rod blank either using 1/4” masking tape or guide tubing.
The Wrap

Starting approximately 1/4” from the guide, begin wrapping from left to right. Wrap once around the blank. Place your finger on the blank where the two threads meet to keep it from unwinding. Rotate the rod while crossing the running thread over the tag end. It should lock into place after a few wraps.

You will stop wrapping after approximately eight wraps over the running thread. Lay a razor blade as close to the wrap as possible and pull tag end against the blade. Continue wrapping over the foot of the guide. If the threads overlap, back off a few rotations and start again.

About 1/8” from the end, take a small piece of thread and fold it over into a loop. Slide the loop under the running thread. Rotate over the loop at least five times to secure to ensure you wrap is tight. With one finger on the top of the wrap, use your other hand to cut the running thread from the spool.[Hint: Rather than using a piece of thread as a ‘pull through’, check out the Speedy Thread Puller]

Finish
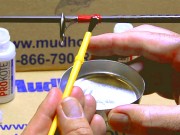
Applying finish to the guide wrap will seal the deal. Using a two part rod finish is recommended for its flexibility. Two part finish requires a rod to be turned on a Rod Dryer similar to a rotisserie in order for the finish to self level and not fall off of the rod. Once your finish fully cures, your newly repaired rod is ready to get back on the water!


