


After spending hours upon hours building a handle, wrapping guides, spinning a decorative wrap, and any other time consuming tasks associated with your rod build, the last step is to apply your epoxy finish. Though it is the last step, it is definitely not the easiest step. More rod building questions are stemmed from epoxy application than any other of the necessary steps.
What is Epoxy?
To get a better understanding why your epoxy does what it does, or in a lot of cases, is doing what you don’t want it to do, you need to have a better understanding of the simple makeup of the chemical.
Most rod building epoxies are two part epoxy resins consisting of one part resin and one part hardener. When the two liquid parts are mixed together in a 1:1 ratio they create a clear hard product. The resulting hard product is waterproof, UV resistant, and bonds well with thread wraps and graphites. Due to the light viscosity of epoxy, it is necessary to have the applied product spin during the cure time to prevent the finish from falling off. This process also allows for the finish to self-level.
Failure Factors
There are few factors which can cause issues with the epoxy process. We will break those down into three categories: Pre mixture, application, and post application.
Pre Mixture – Pre mixture factors are anything which can happen during the epoxy is measured, mixed and ready for application.
Application – Application factors include issues which can arise while applying the finish.
Post Application – Any issues which occur during the curing process.
Pre Mixture
This is where it all starts, if a mistake is made during this process, it is often blamed on one of the other categories.
Improper/Poor Mixture: The most common mishap made during pre mixture is not creating an accurate 1:1 ratio during mixing. This can be eliminated by using a pair of syringes to ensure the same amount of resin and hardener is being added to the mixture. Not mixing the finish for the manufacturer’s recommended time can also can cause issues. Both of these mistakes will lead to a finish which does not set-up or is tacky beyond the cure time.
Bubbles: While mixing your finish, do so in a slow methodical fashion. When you aggressively mix epoxy, you will create bubbles within the mixture that later can cause issues.
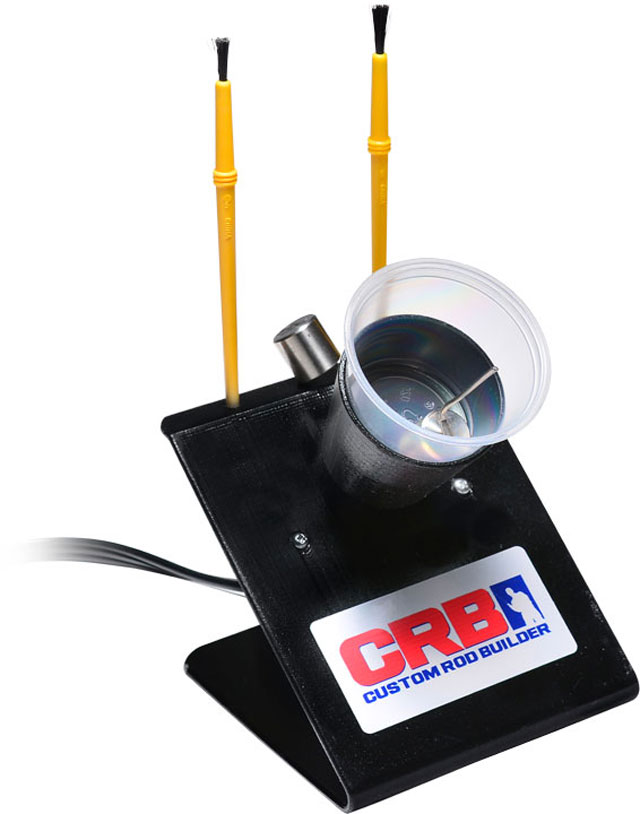
Poor mixture and bubbles can both be eliminated if a epoxy mixer is utilized. An epoxy mixer will turn your epoxy at an angle inside of a mixing cup using a stainless steel mixing rod.
Application
The dreaded application! At this point you are ready to commit to sealing in all of the work you have done. There are a few issues you may run into, but luckily, as long as pre mixture went okay, anything that arises during application can be fixed.
Tools: I recommend taking a spare piece of rod blank and experimenting with several application tools. Brushes are the most common tool, but there are hundreds of different bristle hardnesses, widths and lengths. This will be personal preference, and some even prefer to use a harder application tool like a popsicle stick.
Bubbles: Bubbles, again!? Yep. Bubbles can either carry over from pre mixture, or be created by the air trapped in between the brush bristles. The best method to eliminate the bubbles once the finish is applied is……
…HEAT: Heat can be your best buddy during application. An alcohol burner with denatured alcohol burns much cleaner than lighters and other butane fueled heat sources. When heat is applied to the epoxy, it will cause the finish to become thinner. This will not only cause the bubbles to escape, but it was also enhance the finish’s ability to self-level.
Post Application
It’s all done. The finish is clear, smooth, and without bubbles. Now it’s time to walk away and let the rod turn in the dryer for 8 hours. Almost home free, but not quite.
Environmental Factors: Rod finishes recommend a temperature range of 60 to 90 degrees fahrenheit(check the manufacturer for product specific ranges). Make sure the rod remains within this range during the entire curing process.
Finish is practically a magnet for dust or floating particles, so having a clean working space is important. I have had house flies land in my finish overnight. The epoxy will set up regardless of these elements, but your new spinning rod can turn into a FLY-ROD if you are not careful!
Hopefully this breakdown will allow you to better prepare yourself for the common issues which arise during the epoxy portion of your next rod build! Just remember…
Preparation = Success


