Building a fishing rod should be a fun and enjoyable experience. As one of Mudhole’s instructors for our Rod Building Classes, I have come to notice several factors that will aid any beginner rod builder.
Build In Stages
First off, you do not have to build the entire rod in one day. I recommend you work on it in stages as this will prevent fatigue to your eyes, hands, back, and mind!
Also, if you find yourself starting to feel frustrated, it may be another good time to take a break. I have personally gotten to the point where I just could not get a thread wrap started correctly to save my life, so I decided I needed to step away for a while.
When I returned and got back to work on the rod, I was much more patient and thought clearly, and didn’t have any issues at all.
Inspect First, Then Build
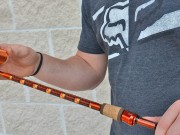
You really want to inspect all of your components prior to building your rod. Check your rod blank for nicks and critical imperfections.
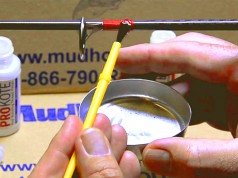
Checks for imperfections before you actually start your rod build.
Make sure that when you are locating the spine of your blank that you put a decent flex on the blank. If the blank is going to break due to a defect you would much rather have it do so now – rather than after you have put several hours of work into it.
You also want to make sure all of your components fit where they are intended too. Example: your winding checks, reel seat, reel seat arbor, if using one, tip top, etc. Again, better to find out you have the wrong size before you get started.
Work Space
Very important! I highly suggest you do not build your rod on the dining room table, unless you don’t mind a restless night sleep on the couch.
Make sure that whatever surface you are working on that it is OK to drop some epoxy or finish on, because this will happen. If you have to put paper or cardboard down go ahead and do so.
Have ALL of your components laid out so you know where they are.
Have ALL of your components laid out so you know where they are. Small items like hook keepers and smaller guides you may want to tape to the table until ready for installation. These components like to grow wings and fly away if you know what I mean.
Having said that, if you have dark shag carpet you are going to have a blast finding them if you do drop them, so take extra steps to prevent this from happening.
Your table also needs to be long enough for the rod, or at least the rod stands you will be using. When you are in the stages of applying epoxy or finish, throw away used paper towels that have epoxy or finish on them right away.
Also, you may want to have your work space in an area where pets will not be able to knock your work over. We love our pets but they are curious.
Let There Be Light
Lighting is VERY crucial. Building a rod in shadows is no fun, at all. Make sure you have ample overhead lighting or a lamp that you can direct lighting to the area you are working on.
If you have trouble seeing small work you may want to use a jeweler’s magnifying head set or a lighted magnifier table lamp. This will aid in the delay of eye fatigue.
If you need a refresher on how to build a fishing rod, click here for How To videos…
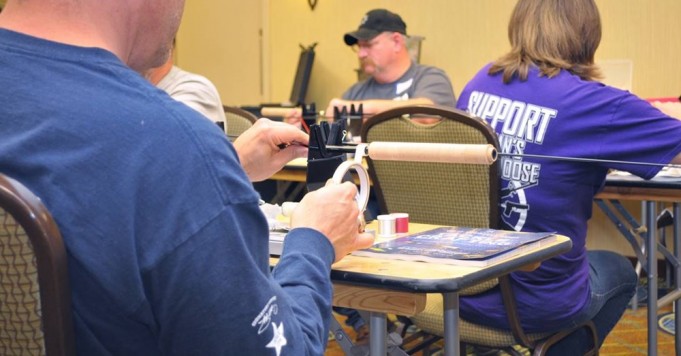
Or – click here to take a rod building class…
Remember, building a custom fishing rod should be fun, or else you are doing it wrong!
Hope this was helpful, tight lines…


