


Most reaming mistakes happen when we rush a build, so consider these helpful reminders for the rod builders out there.
While reaming a hole in a piece of cork may not be rocket science, there are a few tips that will keep you from having to buy replacement parts when things go wrong during this process. Here are the top five tips we tend to offer our viewers when they contact us.
1. Increase Reamer Sizes Slowly
If you get a cork handle and are going to use it on a heavy action bass rod, you know you are going to be going through some cork.
There is a natural tendency, especially if you are building several ‘like’ rods at the same time, to jump right to the larger reamer size.
This may (and most likely will) lead to cracking the cork wall, and having to start over again, which is not the end of the world, but why waste the material.
For example, if you use the Extreme Reamer from Custom Rod Builder (CRB), they come in the following sizes:
EXR-S 14″ 0.215 – 0.360″
EXR-M 14″ 0.340 – 0.475″
EXR-L 14″ 0.495 – 0.575″
EXR-XL 14″ 0.550 – 0.700″
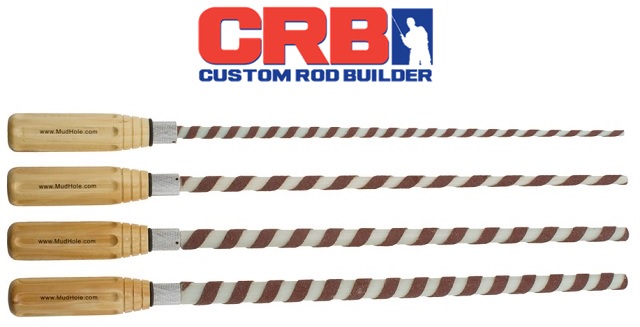
If you know the EXR-XL size is the last reamer size you need for a fore grip, start with the smallest reamer – even though it only takes off a small amount of cork material. Then go on to each size until desired size is reached.
Note: If you happen to be using material that has no precut hole, then use a small drill bit to create a starter hole.
2. Make Sure Cork Rings Have Completely Dried
For those creating a custom handle from cork rings, make sure that all the glue has completely dried before starting to ream it out.
There is not much else to say on this. It happens when we rush. It happens often. It really drives a person bonkers!
3. Try Using A Power Drill Instead Of Manual
If you use the Extreme Reamer from CRB, you can remove the handle and use it with a power drill. This makes the reaming process easier and reduces fatigue.
Just remember to start with the smallest size reamer, and also to not go from stop to full speed.
Instead, insert the reamer into the handle, then try giving the power drill a few light taps then go into a slower – but steady – drill speed. This accomplishes a few things.
First, it will make sure the handle does not fly out of your hand.
Second, it will allow you to make sure the alignment is correct (straight)
Third, it will make sure the reamer does not get jammed (stuck) in the handle.
Once you get it going, you can speed it up a bit. Try it first on some spare handles and material. After a few tries, you will get the feel of it, and really appreciate the time and energy savings.
4. Use Masking Tape For Over-Reamed Handles
A very common mistake is actually taking too much material out during the reaming process. If this happens, you have two choices.
First, if you are a perfectionist, then just start over with a new handle.
However, if you are reasonably close in size, you can build up the rod blank by adding a little masking tape – kind of like building a mini arbor for your handle or grip.
After you epoxy on the handle, it will work fine 99% of the time.
5. Be Mindful Of The Dust
This is just a reminder that the dust caused by the reaming process can linger in the air, so make sure there is nothing in the immediate area that would be affected.
For example, during the reaming process, many builders hold up the handle and blow through the center to remove the dust and material.
If you did this in your build area while you also had a few rods spinning in the dryer while the epoxy finishes drying – the dust may find its way onto the sticky epoxy.
That would be bad – ok?


